How-tos

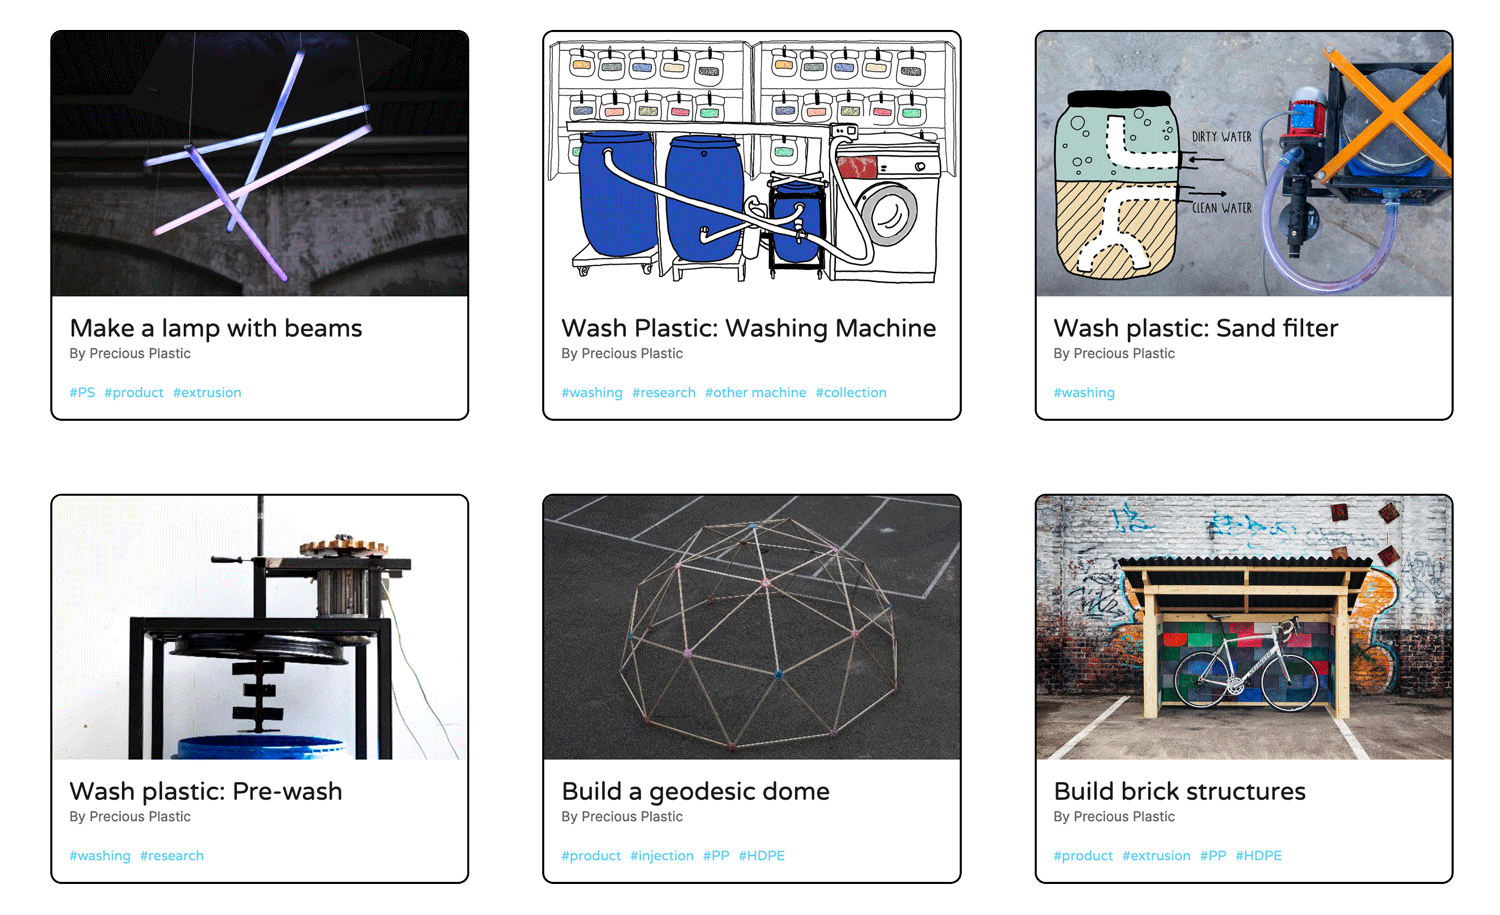
Learn more in our How-To’s!
This is a powerful place on the web. Here people from around the world (like you) can share the things they’ve learned with others in a structured way. This tool is the heart of our open-source, collaborative community. We rely on all of you to gain knowledge from us and then share your learnings back, that way we are all solving the problem of plastic waste together! Read more here on why sharing back is crucial
Tip : have a look at our How-To’s its fun to browse around.
How to make… a How-to
Ok, you’ve had a look around the How-to’s, perhaps used some of them, and now you’re ready to post your own. We and everyone in the Precious Plastic community really REALLY appreciates you taking the time to document your valuable information. Processes and development can be complex. It’s easy to get lost in the perfection of creating the perfect how-to with 45 steps. Aim for that. We love those. But realistically most other makers can get a lot of information from a good 3D model or a few pictures. If you upload that with a few steps thats explain roughly whats going on and why you are doing already helps a lot. Here a few guidelines to take in account
Intro
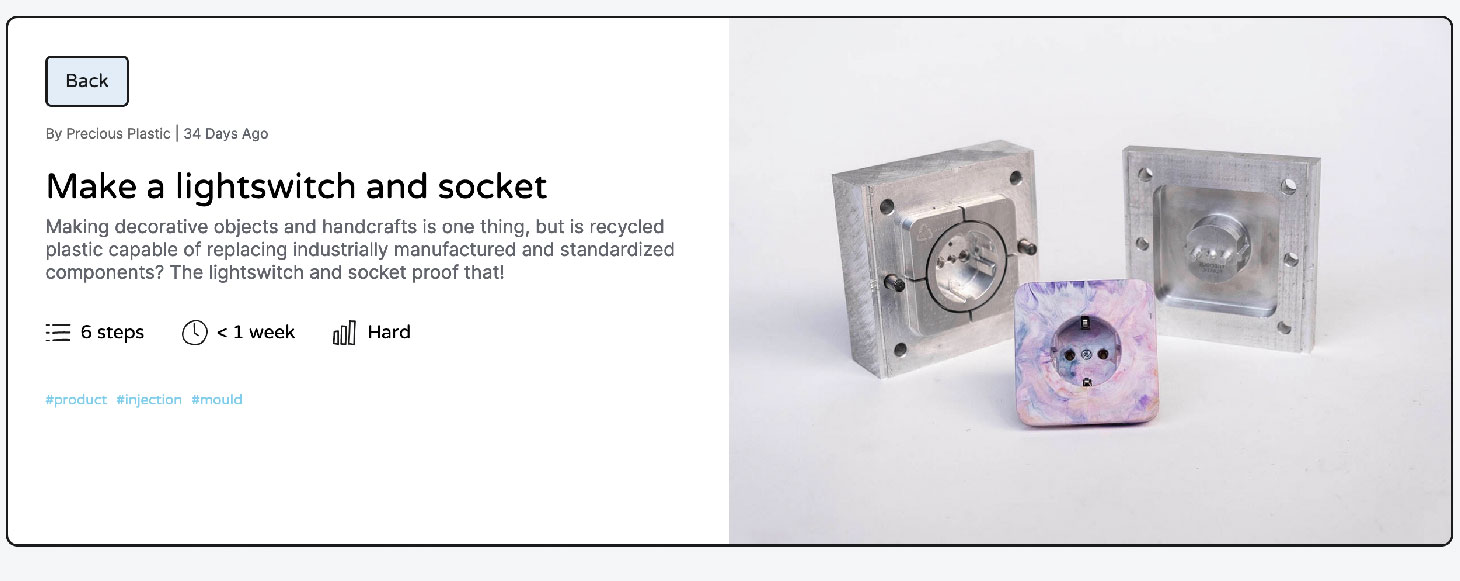
Title of your How-to: is it indicative of the goal? Is it easy to understand? Remember, keep it short.
Select tags for your How-to (max 4) Select accurate tags, then your How-To will be found.
How long does it take? Helps users plan their time.
Difficulty level? Objective, we know! Try to select from the type of user that will be completing a How-To. Creating a basic mould from someone that has no experience will probably find it quite hard. But for a mould maker, easy.
Short description of your How-to: keep it to 300 characters please! Upload files: do you have CAD drawings, testing sheets, or resources that will help? Zip them in a folder and upload them here. Aim to keep it under mb.
Cover photo: upload a landscape photo that shows your product or process clearly. We are visual creatures, good imagery will communicate quicker than text will. Keep it to 1280x960px.

Steps
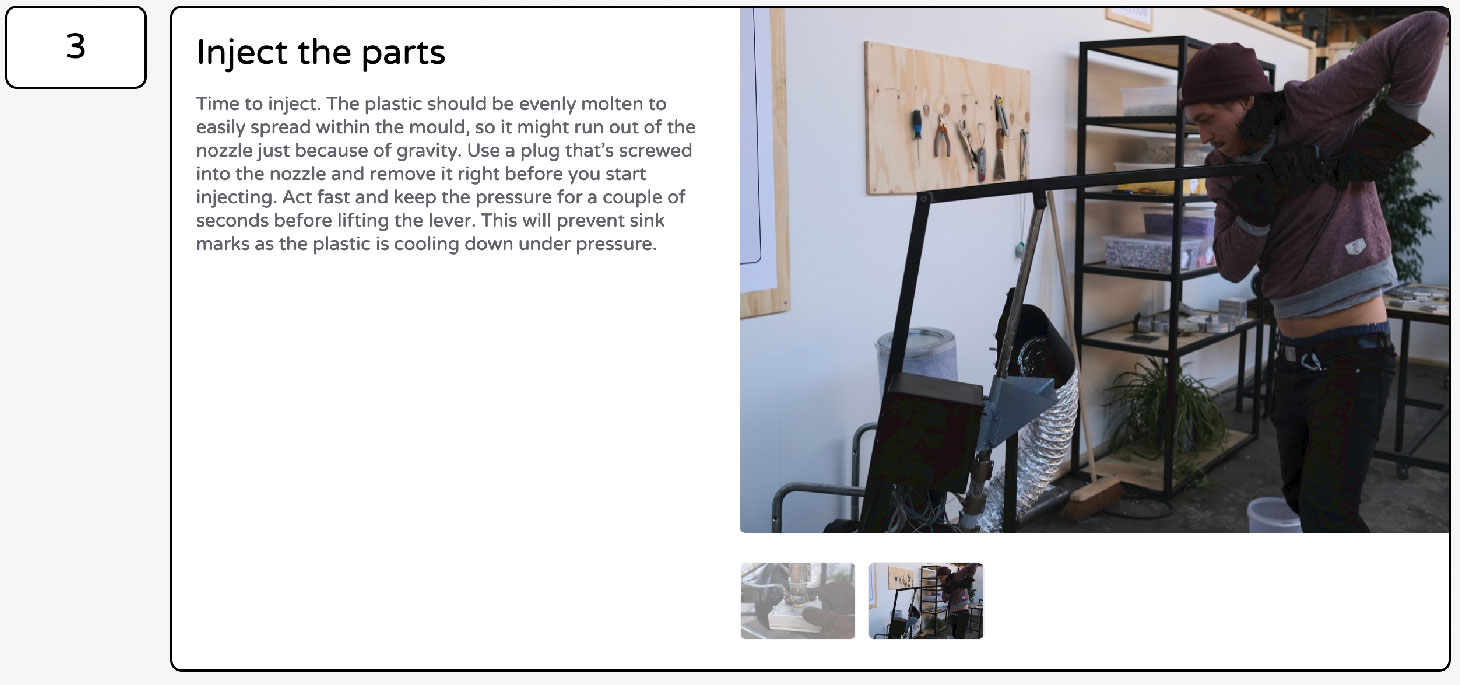
Ok now for the good stuff. Each step needs an intro, a description and photos. You’ll need to have three steps minimum, and if you want to add more, you’ll need to click “Add Step” at the bottom.
Intro: again, keep it short
Description: edit it down to the essentials, and don’t make it a stream of text. If you have to much text for one step, it probably means your step is two big and it’s better to split it up in 2 steps. This makes it easier to digest for others. Photos: make sure they’re clear and useful to the step.

Pro tip 1 : Best is to always document (with lots of notes & photos) during the entire process of whatever you’re doing, so you have content ready for documenting.
Guidelines
Text
- max. 700 characters per step
- Upload Minimum 3 steps
- Keep it simple! Think of your documentation as a beginners guide.
- We recommend simple language and a conversational tone.
- It’s better to have more easy steps than a few very complex ones.
- If you have too much information to put into one step then try to split it up into more steps.
Images
- Every step must include 1-3 images.
- All images should be landscape (4:3) best at (1920x1440)
- Nice & clean cover image showing what to learn in the How-to
- It can be useful to include technical drawings or templates, if it doesn’t fit add them as download file.
- Try to make clear and clean photos showing what needs to be seen (cleaning your space could help ;)).
- If possible, every step should include a photo showing the result of that step.
- A good picture of the end result is pure gold.
Download files
- Add downloadable files to support your documentation: detailed drawings, CAD-files, a material list etc.
- Bundle all your files into 1 .zip file. Easier to share around..
Some tips & tricks:
- Titles are powerful. Choose wisely, keep it short.
- Use tags, that’s how we stay organised: this will be how people find your How-To, so make sure they’re accurate.
- Try to keep it short but informative: trust us, we all have short attention spans.
- Use images in each step: this will help the user to visualise your instructions. Make sure your images are clear and taken with a good camera (smartphones are ok too!)
All done?
Super awesome. You’re part of this journey with us and we are so grateful you’re sharing your knowledge with the rest of the Precious Plastic community! Sit back, relax and feel your karma points growing.